Showing posts with label DIY. Show all posts

July 6, 2011

Just a little paint....dresser update

A couple weeks ago I decided it was time for a little updating in our master bedroom.
Our dresser/nightstands were so dark and I've been falling head over heals for all things white. I guess you won't be surprised to know that painting the dressers white is exactly what I did. They look amazing now. I love the fresh, clean feeling they bring.

This is only the beginning though. For a while now, okay really since we moved here and the office stuff invaded our bedroom, it's not been the most inviting or relaxing space. This is my mission. To somehow make the office and bedroom work together to create a cozy retreat.

Anyway, I'll keep you posted as to the progress of this room. For now, here's a look at the dresser/nightstand before and after.

Before:

Not the best before photo but this was all I could find and I failed to take a picture of them before painting. Oops!

After:


A little distressing, love this look. Plus, my little guys love to bring their toys and trucks in our room. Knowing they like to put them up on our dressers makes me feel more okay with all the nicks and scratches I know are inevitable.


The drawer pulls were a lovely GOLD before. Yep, that's right, GOLD.
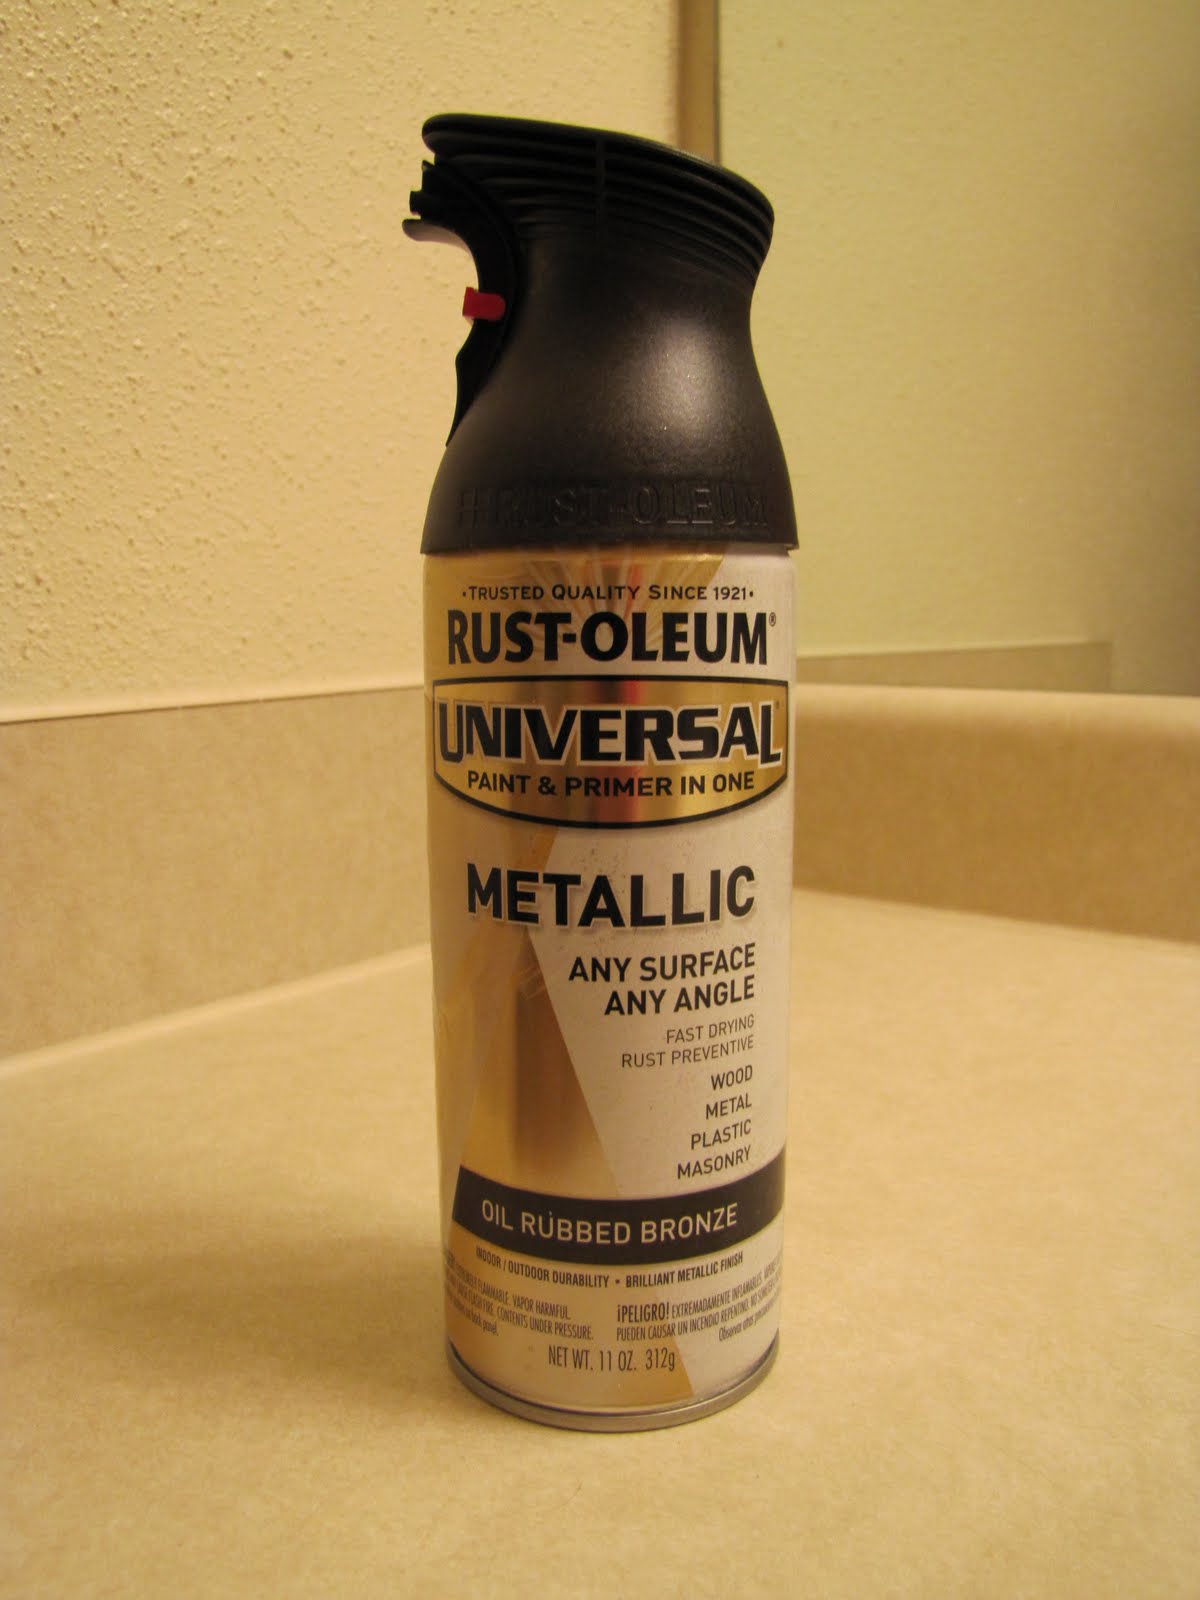
 After a little light spray painting they are gorgeous.
I used Rust-oleum Oil Rubbed Bronze. Love the nice even finish.


As for the painting, I applied a couple coats of Zinsser primer first. Then a couple coats of BEHR premium plus paint in Swiss Coffee. 


Instead of painting them plain white, adding the little bit of color brought just the right amount of warmth to the dressers. Plus the name is so cute too! I'm a sucker when it comes to paint names. I guess you could say I'm somewhat of a paint geek. lol Not sure that's even a term, it's just the way I see myself.

About the office stuff invading our room? This is what I'm talking about. Somehow I'm going to make this work. :o)


Happy Wednesday!


June 26, 2011

Craft closet & DIY photo canvas

Organizing. It's something I love but still struggle to keep up with most of the time.

My craft closet is one of the best examples to the above statement. Things get stashed in there, thrown aside so they're simply out of my way. New supplies get center stage, though. I love opening the closet and seeing the new stuff right away. lol Anyway, as I work on being more organized and staying that way I thought I'd share with you a couple before and after shots of the closet. Why you ask? It's the same reason I love to browse other blogs. To get a glimpse inside someone else's world. To see how they live and work through their day. And let's face it, who doesn't love a good before and after photo shoot. Ha!

Before


After


Still not fabulous but better than it was before.

(I'm sorry to say that since these pictures were taken it's now somewhat messy again)
Like I said earlier, it's something I'm working on. A daily struggle that is sometimes overcome.
........................................................................................................................................................

I am posting a little late about our Father's day gift but alas here it is.
DIY photo print.
Canvas was purchased at Michael's. We used a 16"x20".
Varnish medium was also from Michael's, Liquitex Gloss Medium and Varnish
16"x20" photo print from Shutterfly


When I put this together I didn't take any tutorial photos but here is where I originally found instructions on how to put it together. I realized after the fact that I used a different varnish that she did but mine still came out great.

Putting this canvas print together was so easy, I already have plans to make more.

Have a great weekend!